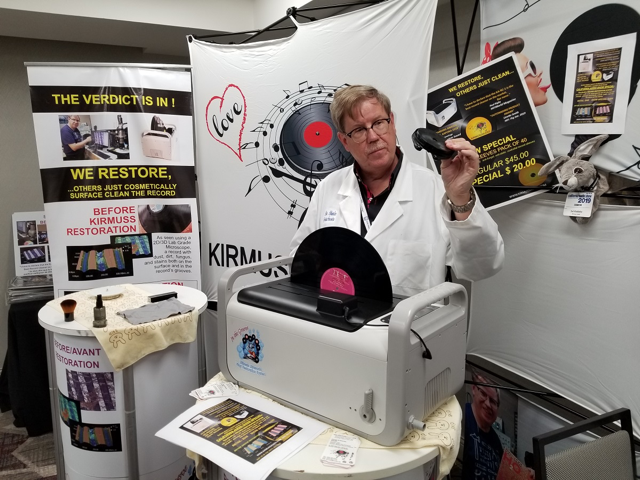
Record cleaning is a serious business with a myriad of different choices available to take care of your prized vinyl collection. These choices range from simple $80 wet cleaning systems all the way up to ultrasonic cleaning machines that cost $6,000 or more. Fortunately, I had an enlightening experience with the Kirmuss Audio Record Groove Restoration System, also known as the KA-RC-1 Ultrasonic Restoration System ($970) at the California Audio Show last July. Charles Kirmuss, pictured above, is the inventor of this system, and you can find him at most audio shows. In fact, there was a brief mention of this system on this website from a previous show picture.
Why and How to Clean a Record?
Your first questions might be, “Why do I need to clean my records? Isn’t using a microfiber brush to remove the visible dust enough? If most of the vinyl I buy is new, then I don’t need to clean it, right?” This is what I thought about new records, but as I learned, even brand new records can thoroughly benefit from being cleaned. This is primarily due to the manufacturing residue or release agents that are left behind on the surface of the record during the pressing process.
Your next question is probably, “How should I clean a record?” I’ve only used a soft microfiber towel and an inexpensive carbon fiber brush on my records. When researching different cleaning methods and equipment, it was hard to differentiate between marketing hype and real-world results.
With so many choices, however, it’s difficult to know which approach to adopt, or what is the “best” way to clean a record. This post is about a vinyl cleaning method I experienced first-hand that made the choice seem easy.
How the Kirmuss Audio KA-RC-1 System Works
The Kirmuss Audio KA-RC-1 Ultrasonic Restoration System is a unique approach that goes beyond simply running a record through an ultrasonic cleaning machine and then letting it air dry. While this system won’t remove every surface noise caused by physical scuffs or deep scratches, what it will do is lower the overall noise floor of the record. This allows all of the fine details stored in the grooves to be fully extracted by the stylus. In some cases, performing a restoration on a brand new record has resulted in a 1-3db increase in gain! That’s clear and measurable proof that cleaning a record with this system will get you closer to your music.
The Cleaning Process
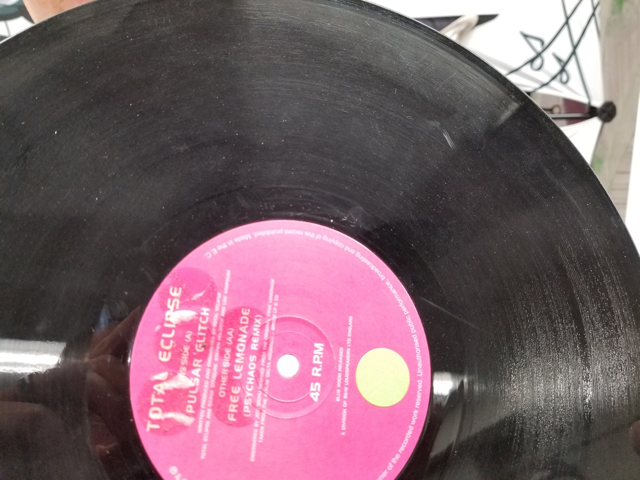
Charles Kirmuss invited me to bring a record in to demonstrate the effectiveness of his record groove restoration system. I immediately knew which record I was going to select, a rare mispressed record that was a gift from a long-time friend. As you can see from the picture, it has been heavily played and is visibly worn, so I wasn’t expecting much improvement. I figured it was a lost cause – maybe it would improve things visually but the record would sound the same.
I played one side of the record the night before and despite it being one of my favorite songs there was a lot of grit, surface noise, and overall harshness to the sound. It took away from the enjoyment of the music and made me feel that it was time to relegate this album as a collector’s item for sentimental value versus a record that receives regular play.
Step 1: Initial Degrease Bath
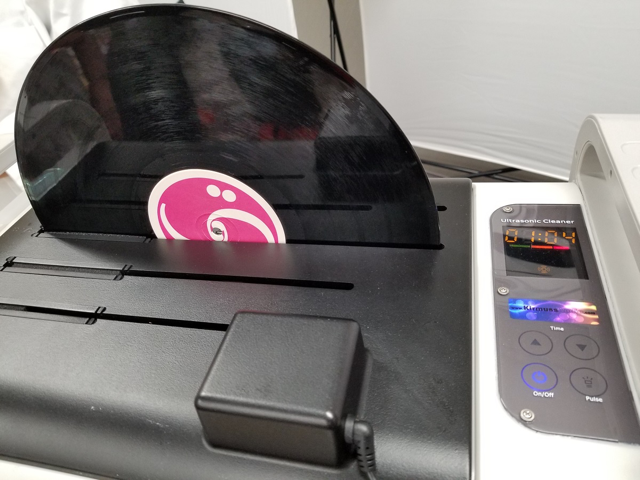
When I took the record in to be cleaned, I learned that there was much more to the record groove restoration system than the ultrasonic cleaner. This cleaner can process up to four records at a time and can safely accommodate records of all sizes and speeds. For the first step, which is an initial degrease bath, only distilled water with a maximum of 40 mL (1.4 oz) of ISA (Isopropyl) 70% solution is used.
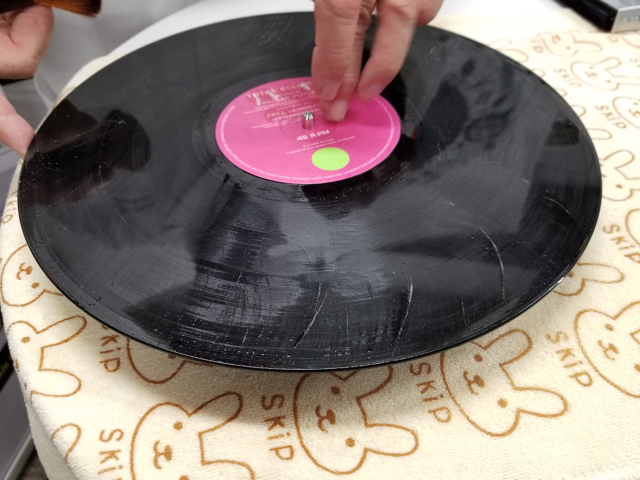
Step 2: Applying the Ionizing Surfactant
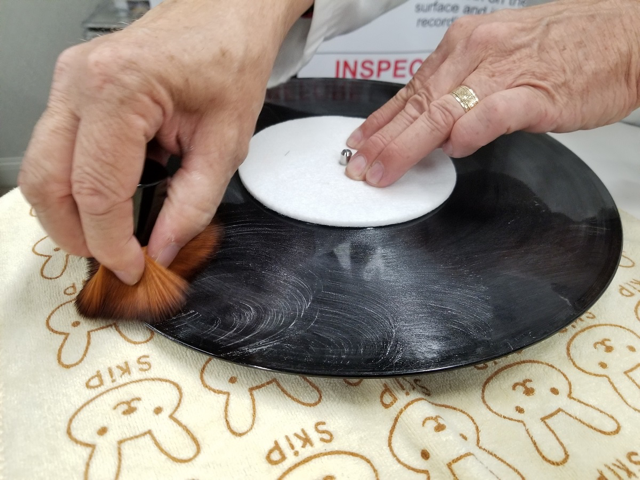
Next, there’s a manual agitation step required during which an ionizing surfactant is applied to the record’s grooves in order to increase the effectiveness of the ultrasonic cleaning process. This step can be repeated multiple times depending on the condition of the record being cleaned.
The surfactant is a PVC friendly, water-soluble anti-bacterial, anti-fungal and anti-static agent developed by Kirmuss Audio, that also removes accumulated surface contaminants present from other cleaning systems. It is applied to the record using a goat hair brush that’s included.
As the company’s CEO and product developer Charles Kirmuss explained to me, for ultrasonic cleaners to be fully effective, “a surfactant should be applied to aid in attracting the plasma wave that gets created by the cavitation of the solution into the record’s grooves, which results in more effective removal of contaminants.”
During the restoration procedure, there are visual cues like the amount of water sheeting on the surface of the record, and the quantity of soap-like foam generated during the manual brushing step. These clues help you through the cleaning process, indicating how many more cleaning cycles are necessary. As you can see in the picture above, the amount of foam is much less than in the earlier picture indicating that this record is almost completely clean.
Step 3: Final Brushing
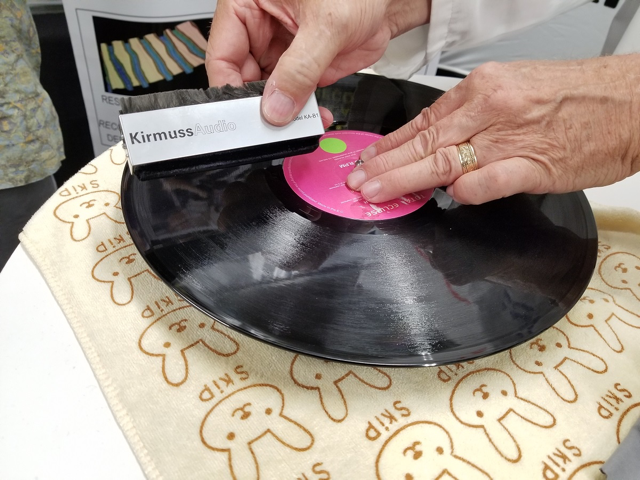
After the fifth cycle in the ultrasonic bath, my record was ready for the last step. Here the record was dried with a soft lens cloth. Then it was brushed with a combination para-static felt and carbon fiber bristle brush.
Conclusion
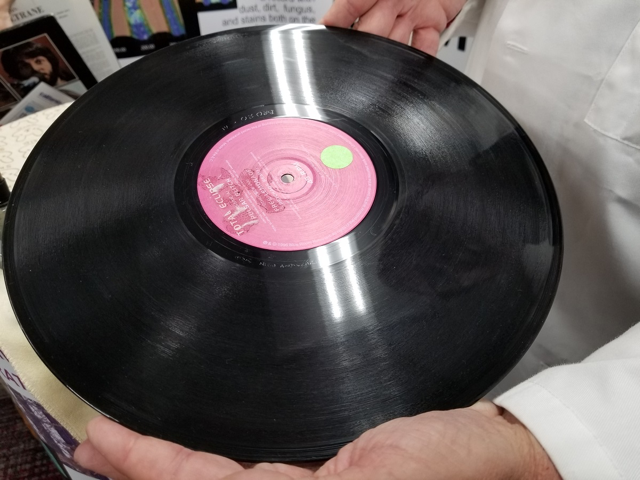
From the pictures above, you can see that there was a dramatic improvement in the physical appearance of my record after the cleaning process. The real proof of this restoration system, however, was when I played the record the next night. Sure, some of the severe pops and clicks were still present as I expected. However, I noticed that the sound was much more detailed, especially on complex passages. Additionally, the cymbals had a stunning clarity and cleanliness to them that wasn’t there before.
The overall coherence of the music was dramatically improved. It was actually enjoyable again! The record had been restored to a state of being listenable, and I’m happy to report that it’s now back in my regular rotation.
In summary, I was impressed with the intuitive and logical approach of the KA-RC-1 Ultrasonic Restoration System, and the result with my record certainly speaks for itself. It’s not the fastest or easiest approach to record cleaning. However, if you put in the time and energy your efforts will be rewarded by no longer having a release agent or residue from previously used vinyl cleaning products embedded in the grooves of your vinyl collection.
I commend Kirmuss Audio for offering their record groove restoration system. It’s an affordably priced ultrasonic cleaning product that truly works.
